Showing posts with label Tutorial. Show all posts

Foto foto Desain Photosop Terbaik

Cara Membuat Foto Bodo (jelek) Menjadi Ayu (jegeg) dengan Photoshop

    ( maaf kalo belum sempet translate , so translate sendiri ajah bro !!)

    Color blending collection 3 The first tutorials for new year!  Color blending style is back with the third collection. Its one of my most favorite effects and i hope you will like them too

    I. Soft high contrast photo effect:


    Resource:
    Model

    1. Open your picture and duplicate it. Choose Image-Apply Image:


    This step is to remove green tone and reduce blue tone of the pic.


    2. Create a new Selective color layer:

    Neutrals: 11, 3, 9, 0

    Its to increase light cyan tone.


    3. Stamp visible all layers ( Ctrl+Shift+Alt+E). Choose Channel Pallete, Ctrl+A to choose Green channel, Ctrl+C to copy it and press Ctrl+V to paste it into Blue channel. We have:


    This step is to change color of umbrella to fit background.


    4. Stamp visible again. Apply Gassian blur with 4 px then set this layer to Soft light 100. Press Ctrl+U to reduce the red tone on model face:


    5. Stamp visible once again. Apply Gassian blur with 4 px and set it to Hard light 20%:

    ( You can choose Soft light mode, it depends on your fancy or your own picture).


    6. New Selective color layer:
    Reds: 86, -23, 12, 0
    Whites: 0, -21, 0, 0
    This step is to reduce red tone on model to be suitable for background.


    7. In this step we are about to add rain effect to this photo. Its a very easy effect and most of you may know it already.

    Create a new layer and fill it with black ( Choose Edit-Fill). Apply Add noise filter:


    Press Ctrl+L to increase contrast and reduce "rain effect" intensity:


    Apply Motion blur:


    Set this layer to Screen 100%:


    Press Ctrl+L to increase brightness:


    Apply Gassian blur with 0.5 px to soften this effect to make it look more natural.


    Add layer mask and use soft black brush with 50% opacity, 50% flow to blur the rain effect on some parts of model:


    Final effect:


    Source URL: http://indahrahmadewi.blogspot.com/search/label/Tutorial
    Visit Indah Rahma Dewi for Daily Updated Hairstyles Collection

Tutorial Membuat Efek Grunge pada Foto

    Sebenernya membuat efek grunge ini gampang banget.. intinya cuman gabung-gabungin gambar aja…
    gak percaya ??
    Ini nih bukti nya :
    sebelumnya… saya pake gambar-gambar ini untuk membantu pembuatan efek
    batuoldpaper tembok
    Klik untuk download gambar-gambar diatas.

    Sekarang ke inti nya yah..
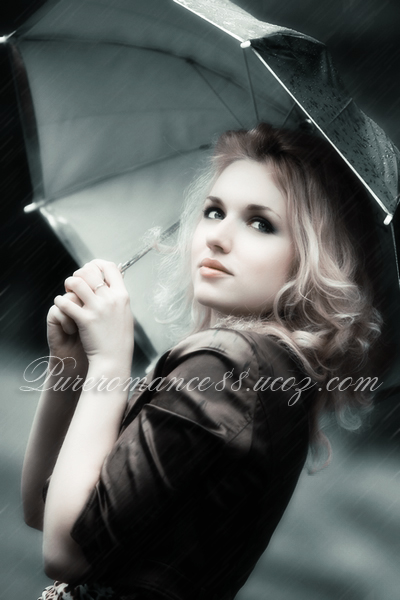
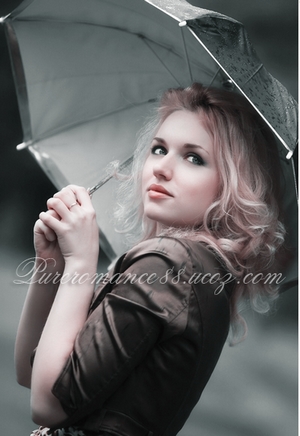
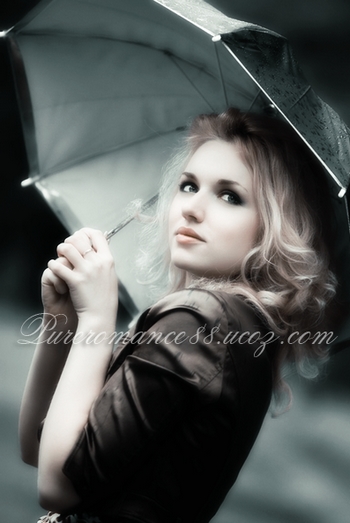
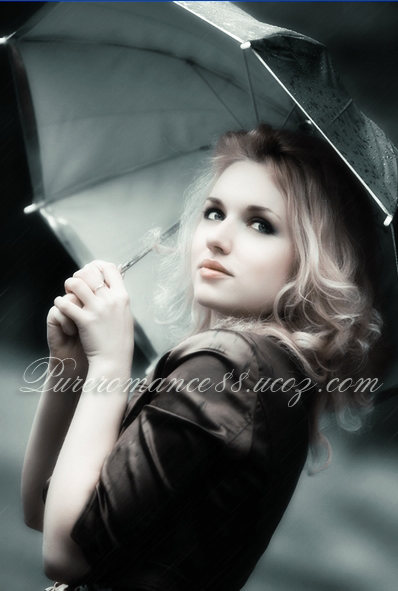
    Buka gambar yang mau diedit
    efek grunge 1
    duplikat layer dengan menekan ctrl + J
    efek grunge 2
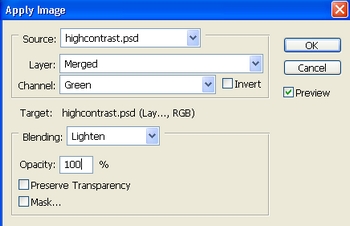
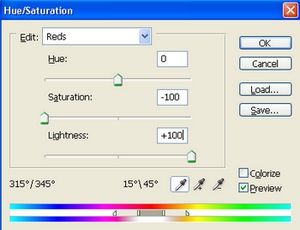
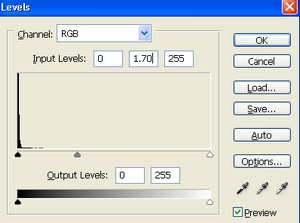
    Klik Image > adjustment > desaturate atau ketan eh tekan di keyboard CTRL + Shift + U untuk membuat foto jadi hitam putih.
    Opacity nya kurangi jadi 50%
    efek grunge 3
    sekarang tekan ctrl +J lagi di layer background untuk menduplikat layer background. pindahin hasil duplikat ke paling atas
    efek grunge 4
    Klik Filter > Other > Highpass
    efek grunge 5
    Ubah layer style menjadi Vivid light
    efek grunge 6
    edit foto dasar udah selesai.. sekarang kita main-main dengan gambar yang lain..
    buka gambar oldpaper.jpg
    drag ke foto yang tadi diedit
    efek grunge 7
    atur sedemikian rupa.. atau di pas- in aja setiap ujung nya..
    sekarang ubah layer style menjadi menjadi COlor burn
    efek grunge 8
    sekarang buka juga batu.jpg .. drag gambar texture batu ke dalam foto yang lagi diedit
    efek grunge 9
    Klik add vector mask..
    lalu klik brush tool (warna hitam) warnai bagian muka nya.. biar nanti keliatan jelas..
    ubah layer style menjadi multiply
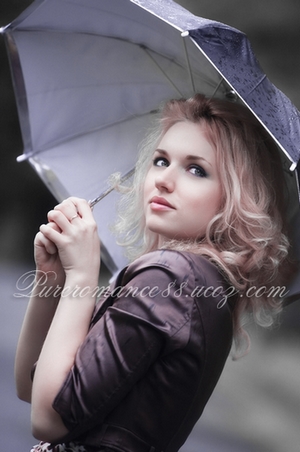
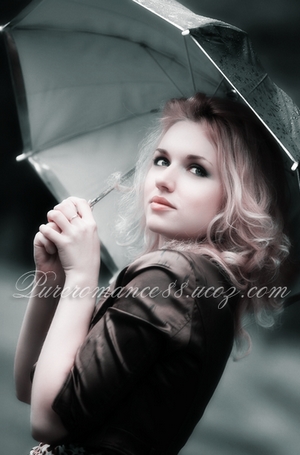
    efek grunge 10
    hasilnya kayak gini
    efek grunge 11
    sekarang buka lagi gambar bantuan terakhir.. gambar tembok.jpg.. Drag ke dalam foto dan atur seperti gambar dibawah
    efek grunge 12
    Ubah Opacity nya jadi 50%
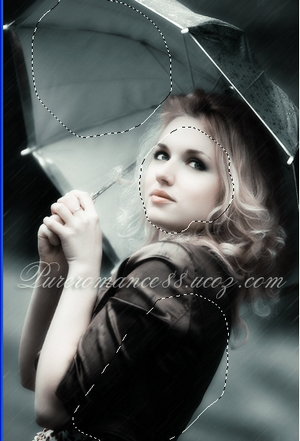
    Klik add vector mask .. warnai dengan brush tool seperti gambar.
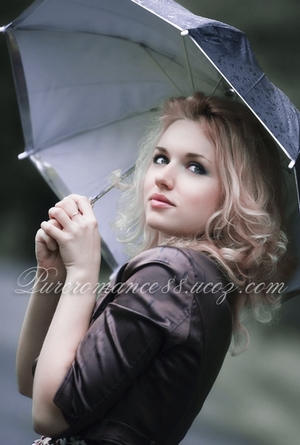
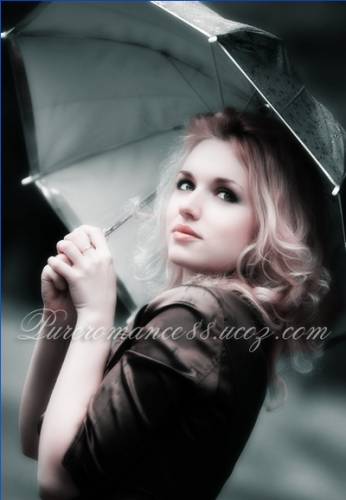
    efek grunge 13
    Hasil akhir nya :
    chandra
    Gampang kan ya ?
    selamat mencoba!Source URL: http://indahrahmadewi.blogspot.com/search/label/Tutorial
    Visit Indah Rahma Dewi for Daily Updated Hairstyles Collection

Blog Archive