Color blending collection 3 The first tutorials for new year! Color blending style is back with the third collection. Its one of my most favorite effects and i hope you will like them too
I. Soft high contrast photo effect:

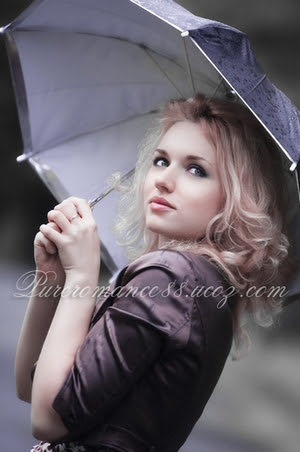
Resource:
Model
1. Open your picture and duplicate it. Choose Image-Apply Image:

This step is to remove green tone and reduce blue tone of the pic.
2. Create a new Selective color layer:
Neutrals: 11, 3, 9, 0
Its to increase light cyan tone.

3. Stamp visible all layers ( Ctrl+Shift+Alt+E). Choose Channel Pallete, Ctrl+A to choose Green channel, Ctrl+C to copy it and press Ctrl+V to paste it into Blue channel. We have:

This step is to change color of umbrella to fit background.
4. Stamp visible again. Apply Gassian blur with 4 px then set this layer to Soft light 100. Press Ctrl+U to reduce the red tone on model face:


5. Stamp visible once again. Apply Gassian blur with 4 px and set it to Hard light 20%:
( You can choose Soft light mode, it depends on your fancy or your own picture).

6. New Selective color layer:
Reds: 86, -23, 12, 0
Whites: 0, -21, 0, 0
This step is to reduce red tone on model to be suitable for background.

7. In this step we are about to add rain effect to this photo. Its a very easy effect and most of you may know it already.
Create a new layer and fill it with black ( Choose Edit-Fill). Apply Add noise filter:

Press Ctrl+L to increase contrast and reduce "rain effect" intensity:

Apply Motion blur:

Set this layer to Screen 100%:

Press Ctrl+L to increase brightness:

Apply Gassian blur with 0.5 px to soften this effect to make it look more natural.
Add layer mask and use soft black brush with 50% opacity, 50% flow to blur the rain effect on some parts of model:

Final effect: